What is an Article?
An article is the main type of content in SparkLearn. Articles can be formatted using headings, tables, lists, and more to convey information in a variety of ways. Multiple articles can be put together in a specific order to create a Course, and Articles and Courses can be combined into Journeys.
Visual Guide
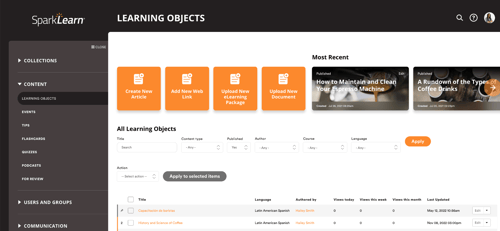
- Select Content from the menu on the left of the screen

- Under Content, select Learning Objects
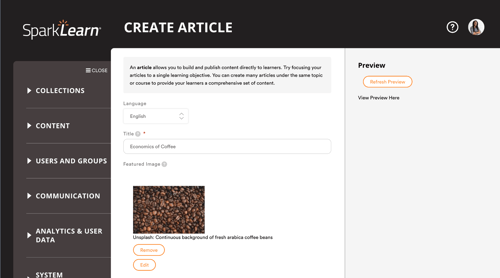
- Select the Create New Article button to get started
- Add a Title and choose a Featured Image to represent your article
- Use the dropdown menu to add elements to the article's Body like images, videos, checklists, Tips, Quizzes, Flashcards, embedded content, and more.
- Use the text tool to add formatting, including bold, italics, color, bullets, anchors, etc.
- From the text area, you can also access the Article AI Assistant

- Highlight a section of text and select the link icon, then start typing the title of existing content in the system to direct learners there
- Linking a glossary term will allow learners to tap and see its definition in context
- Write a Description or select the Generate Description button to have OpenAI summarize the content for you
- Add relevant Tags to help users find your article or select the Generate Tags button to have OpenAI recommend some for you

- Select the Topic you want the Article to fall under
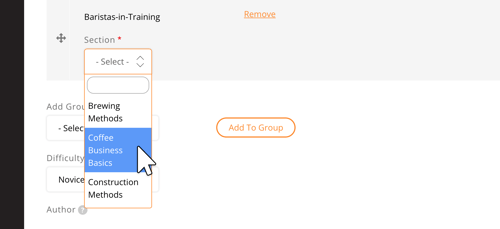
- Choose Groups from the dropdown menu and select the Add to Group button
- If one or more groups are selected, only learners who belong to those groups will have access to the article
- If no groups are selected, all learners will have access to the article

- Under any added group(s), choose a Section from the dropdown menu or create a new one by entering a name that doesn't already exist in that group
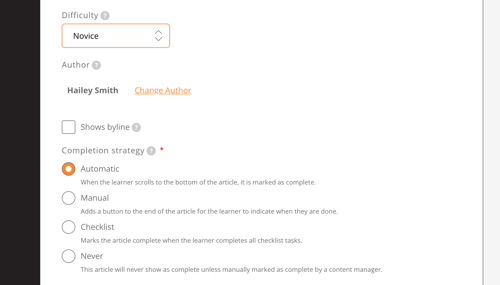
- Choose the Difficulty level of your article if you are using Adaptive Quizzes
- Check Shows byline to add your byline to the article
- Choose your article's Completion Strategy (automatic/manual)
- Automatic – the article is marked as complete when the learner scrolls to the bottom of the page
- Manual – the article is marked as complete when the learner selects the Done button
- Add Related Content to the article by
- Choosing from existing Quizzes, Flashcards, and Tips,
- Manually creating new ones
- Selecting Generate Tip/Quiz/Flashcard to have Open AI create a card based on the article's content

- Content Managers only: Select Scheduling Options in the settings section and select the Date and Time you want your article published on

- Owners only: Select Promotion Options and check Promoted and/or Sticky to increase the visibility of content to your learners
- Promoted – content appears in all users’ For You tab until they have completed it or the promotion is removed
- Sticky – content appears in the Trending tab on the learners' dashboard and at the top of group sections and tags
- Choose to Save as a draft/scheduled content, Publish now , Preview, or send your article for Review
- Save – saves changes and schedules for publishing if using Scheduling Options
- Publish – publishes article immediately; do NOT choose if using Scheduling Options
- Send for review – sends your article for review
- Preview – shows a preview of what your article will look like

- Content can be Archived to unpublish it, meaning learners will no longer see it anywhere it was used. The content can then be sent back to a Draft state or re-publised at a later date
Still can’t find what you're looking for? Contact Support