What is a Course?
A course is a group of content that is organized together to provide structure to learning. Courses are made up of learning objects (articles, web links, eLearning packages, and documents) and cards (flashcards, tips, and quizzes) that can be put in a specific order.
Courses are intended to cover a single subject and can include tests to assess a learner's understanding of that subject.
Courses can be created by Content Managers manually or by using the AI Course Assistant.
If you want to put together a curriculum of content that includes Courses and covers more than one subject, a Journey should be created instead.
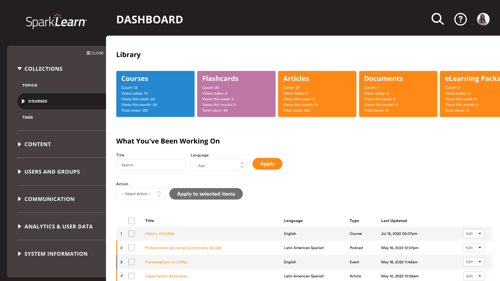
Content managers can assign courses to groups and set a completion due date. This content will appear under the "Assigned" section on a learners dashboard.
Flashcards and tips do not have a "complete" condition, so the length of a course, and whether or not it has been completed, is based on the number of learning objects, tests, and quizzes only.
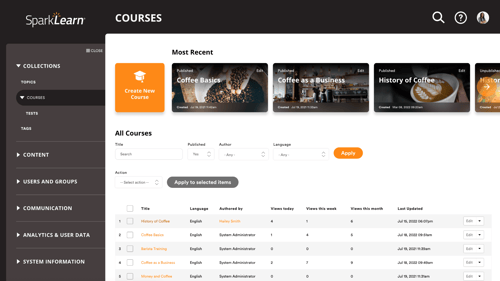
- Select Collections from the menu on the left of the screen
- Under Collections, select Courses
- Select the Create New Course button to get started
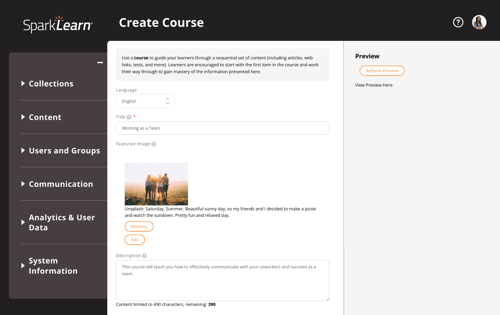
- Use the dropdown menu to choose the Language
- Add a Title and choose a Featured Image to represent your Course
- Add a Description for your Course
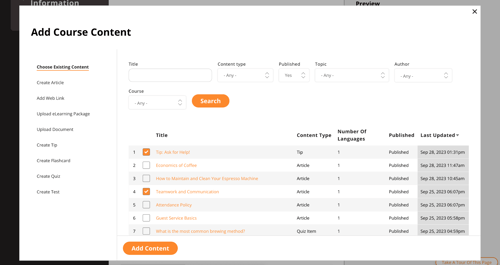
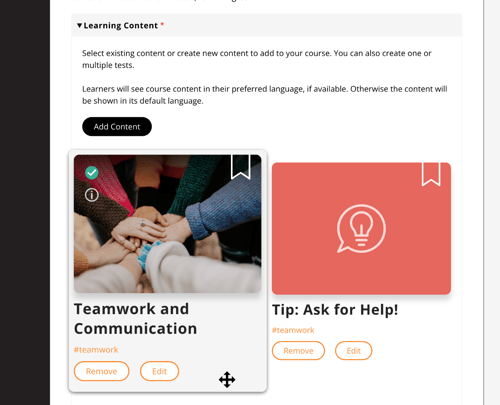
- Add Learning Content to your Course by selecting the Add Content button
- Check the boxes next to existing content you want to include and then select Add Content
- Add new content by selecting one of the other tabs to create tips, quizzes, flashcards, tests, etc.
- You can create a Course with no content, but the course must be set to unpublished. This can be useful if you are just setting up your learning structure before having the content.
- Reorder content within the course by selecting and dragging the cards in the order you want them to appear
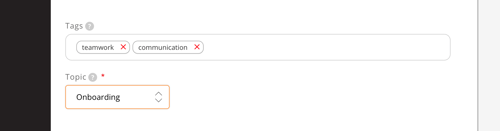
- Add relevant Tags to help users find your article
- Select the Topic you want the Article to fall under
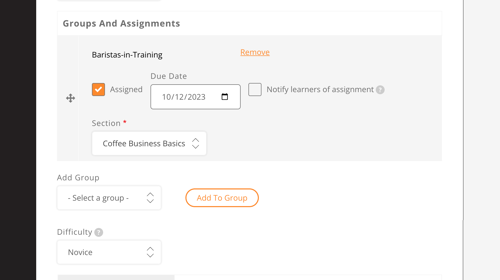
- Choose Groups from the dropdown menu and select the Add to Group button
- If one or more groups are selected, only learners who belong to those groups will have access
- If no groups are selected, all learners will have access
- Check the Assigned box beneath any added group(s) to assign it to those users
- Set the Due Date the course should be completed by
- Check the Notify learners of assignment box to notify group members
- Under any added group(s), choose a Section from the dropdown menu or create a new one by entering a name that doesn't already exist in that group
- Choose the Difficulty level of the Course
- Owners only: Select Promotion Options in the settings section and check Promoted and/or Sticky to increase the visibility of content to your learners
- Promoted – content appears in all users’ For You tab until they have completed it or the promotion is removed
- Sticky – content appears in the Trending tab on the learners' dashboard and at the top of group sections and tags
- Check Published to publish the Course now, leave it unchecked to save your Course as a draft, or use scheduling options
- Once you're finished, choose to Save or Preview the Course

Still can’t find what you're looking for? Contact Support